You have no items in your shopping basket.
Zipp
-
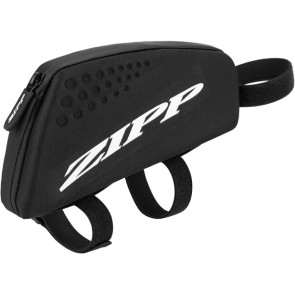
Zipp Speed Box 3.0
Zipp Speed Box 3.0 (includes mounting hardware and Velcro straps) Learn MoreRRP: £32.00
Our price £27.49
-
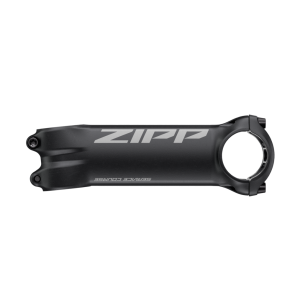
Zipp Service Course Stem 6° Black
It’s high performance and high value. The Service Course stem’s shape and 3D-forged construction results in an improved stiffness-to-weight-ratio. Learn More -
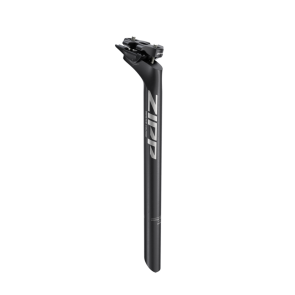
Zipp Service Course Seatpost 20mm Layback Black
Zipp’s Service Course seatpost is lightweight and strong for security and designed to offer a precise fit at an affordable price. Learn More -
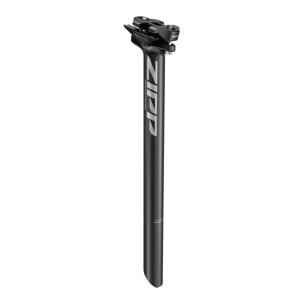
Zipp Service Course Seatpost 0mm Layback Black
Zipp’s Service Course seatpost is lightweight and strong for security and designed to offer a precise fit at an affordable price. Learn More -
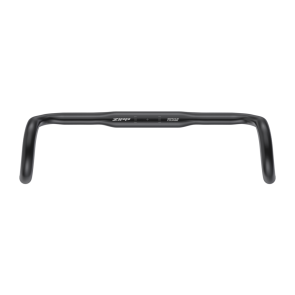
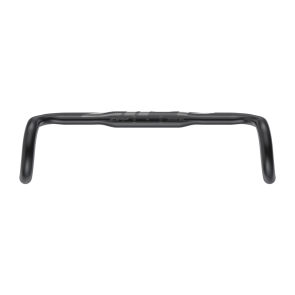
Zipp Service Course 70 XPLR A2 Handlebar
The Zipp Service Course 70 XPLR bar’s moniker, XPLR, exemplifies the desire to explore the world with an expanded definition of cycling on a drop bar bicycle Learn More -
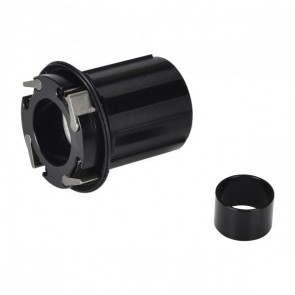
Zipp 3Zero Moto A1 ZM1 HG Freehub Body
Replacement HG style freehub body to fit Zipp 3Zero Moto A1 ZM1 rear wheels. Learn MoreRRP: £99.00
Our price £74.99
-
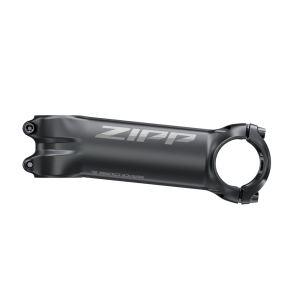
Zipp Service Course SL Stem 6° Black
This stem is a favorite of Zipp ambassadors and pro athletes. Learn More -
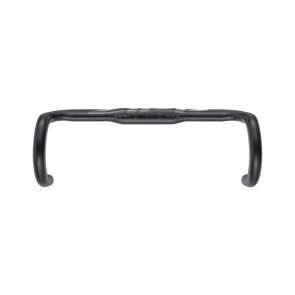
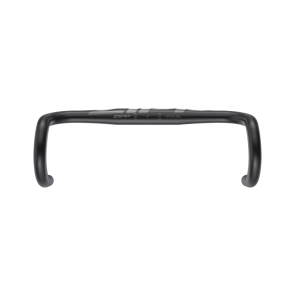
Zipp Service Course SL-70 Ergo B2 Handlebar
Light weight, comfort, and strength: the new SL-70 Ergo is the ultimate handlebar for long days in the saddle. Learn More -
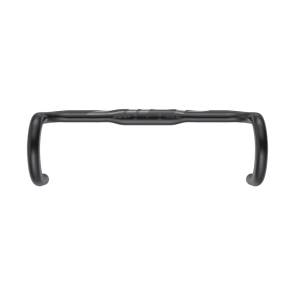
Zipp Service Course SL-70 Ergo XPLR B2 Handlebar
Light weight, comfort, and strength: the new SL-70 Ergo is the ultimate handlebar for long days in the saddle. Learn More -
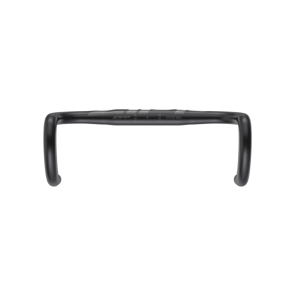
Zipp Service Course SL-70 B2 Handlebar
With the revised ramp angle, proper fit is now achievable on even the most challenging setups. The 70mm reach is the shortest of Zipp’s Service Course bars. Learn More -
Zipp Service Course SL-80 Ergo A2 Handlebar
With the revised ramp angle, proper fit is now achievable on even the most challenging setups. The 70mm reach is the shortest of Zipp’s Service Course bars. Learn More -
Zipp Service Course SL-80 A2 Handlebar
The ergonomic 125mm drop places the angled drop position where you can easily reach it while maintaining a neutral wrist angle. Learn More